It seems easy, but do you know how to carve a cured ham at home? Today’s article will delight #jamónlovers / #curedhamlovers that enjoy a freshly sliced cured ham.
Serrano ham, and Iberian pig feed-fed or acorn-fed cured ham: They are all carved the same way.
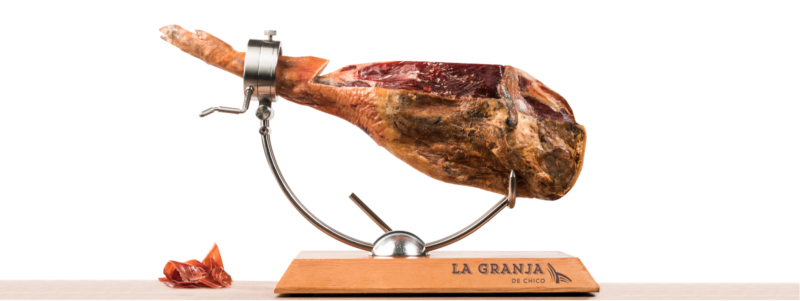
At ACH we have the best cured hams. Its brands are La Granja de Chico and Afinado, and you can start practicing with them.
What do we need to obtain the perfect cured ham slice?
The first thing is knowing what tools we will need to carve the cured ham.
- A cured ham stand
- A pointed small knife with a rigid blade: a short knife or a chef’s knife.
- A ham knife that we will only use to obtain thin slices.
- A knife sharpener or a sharpening steel.
Have you got all these tools? Then let’s go on with the second step.
How to place the cured ham on the ham stand?
We can start to carve a cured ham either by the cushion or the stifle.
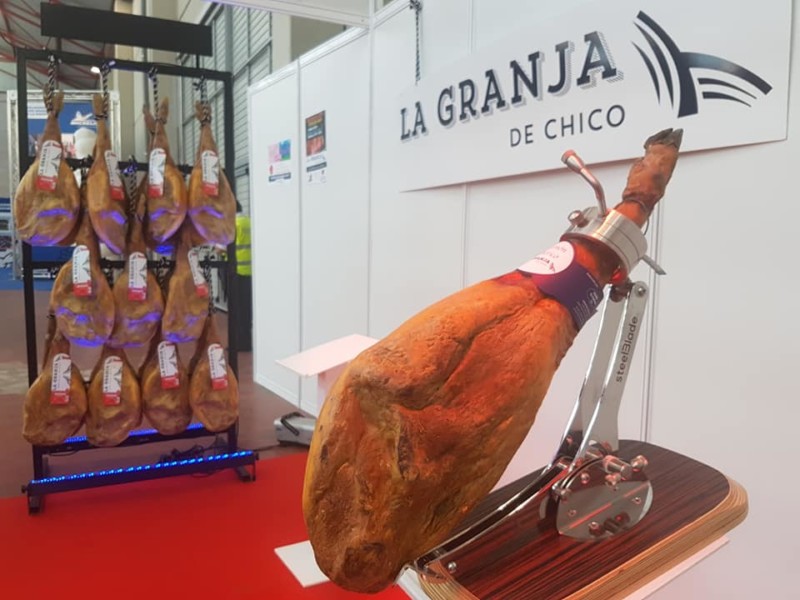
The cushion is the largest and tastiest part of the ham. If you wish to consume the cured ham when the pork is just right, start slicing the cushion first. To do so you must place the cured ham on the ham stand with the hoof pointing upwards.
If you think that it will take you several days or weeks to consume the ham, you can start slicing the stifle first (it is the drier part) and leave the cushion for later, therefore avoiding that the stifle becomes too dry. In this case you will place the cured ham on the ham stand with the hoof pointing downwards.
None of the two options is better or worse. It all depends on your preference.
Where do we start?
The first steps are the opening and partial cleaning of the cured ham.
Before starting to clean the ham, remove the label and put it away so you don’t lose the product guarantee.
Where do we start to clean the ham?
Once the knives have been sharpened, locate the hock, near the hoof. We will make a cut at an angle with the short knife a few centimetres below the joint. We will then make a wedge-shaped cut to remove the skin and fat from that area.
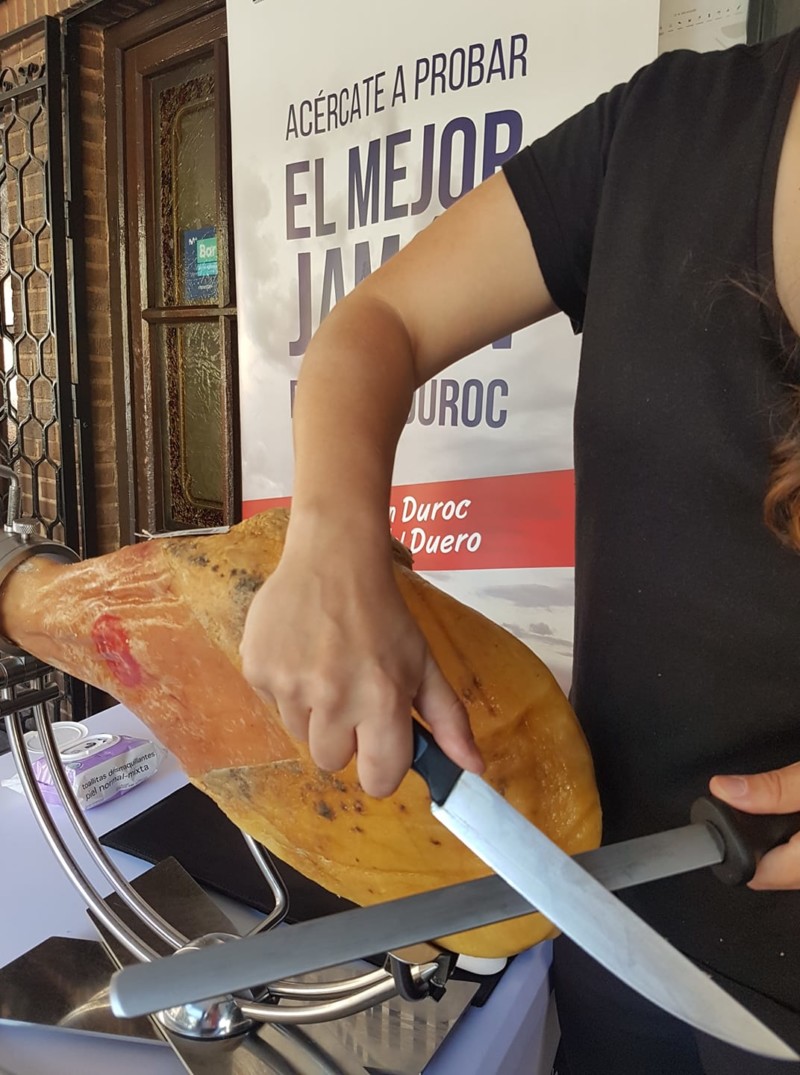
Now we will remove the skin/rind and the oxidised yellow fat, but only from the area that will be consumed during the following days. Therefore, the ham will not become dry and the meat will keep tender.
No yellow fat must remain, because it has a bitter and rancid taste.
When there is no yellow fat left, we will remove the covering fat with the ham knife. We will keep this fat, because it will help us to preserve the cured ham.
Start slicing
We will slice the ham horizontally, parallel to the thigh bone.
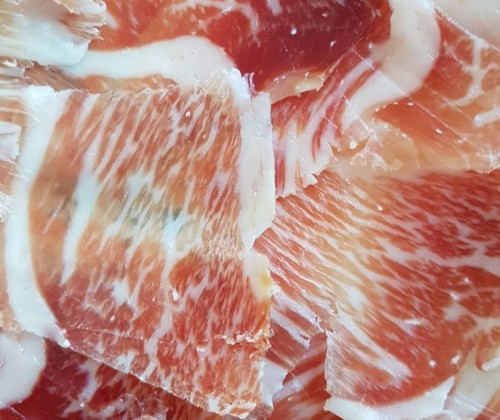
We will start to obtain thin ham slices from the upper area, from the hoof to the other end of the ham.
We will cut the first slice forward, because it is more convenient, and it facilitates that we cut the slices straight. The rest of the slices we will cut them towards us, but you can slice the cured ham in the way that is more comfortable for you. Nevertheless, the hand that picks the slice shall always remain behind the knife to avoid nasty cuts.
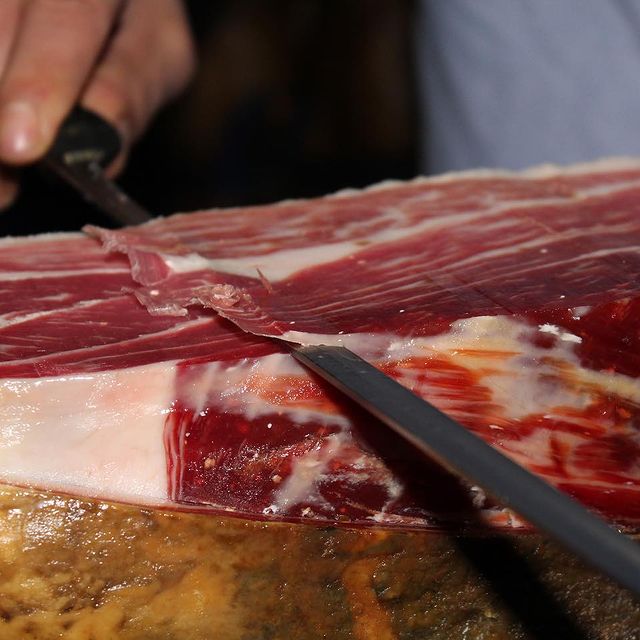
As we move forward slicing the cured ham, we will go on cleaning the area and removing the rind and the rancid fat.
As we reach the bones, such as the hip bone, we will circle it with our short knife, so it is easier to obtain the slices with the ham knife.
It is important to outline the bones to obtain the horizontal slicing and to make the most of the ham meat.
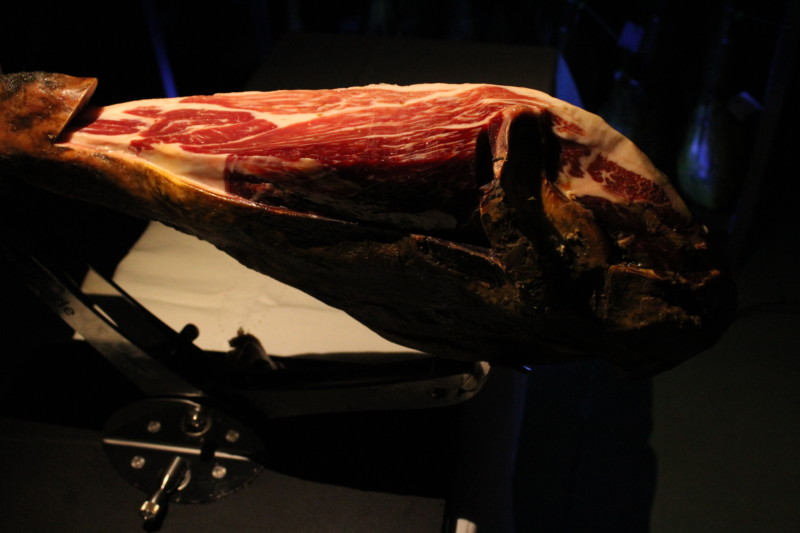
When you finish slicing the cushion, turn the ham over and start slicing the stifle.
Remember to use the bones and the meat that you haven’t been able to slice to obtain ham dices and use them to cook.
Now you only must buy a good cured ham and put to practice everything you have learned.
We recommend you our Afinado brand hams if you want an Iberian cured ham or our La Granja de Chico brand if you prefer a juicy Duroc cured ham.
Which ham do you want to start with?
